


Believe it or not, setting up, filming, and editing your own DIY green screen video is actually quite simple. You don’t need any fancy software or expensive supplies. All you need is the right screen, lighting, and editor. Green screen technology is a cheap and simple way to transform your video’s setting or background in the blink of an eye.
Also, creating a video that features dazzling green screen technology will only make it more appealing to your audience. So follow the steps below and you’ll be on your way to creating your own stunning DIY green screen video.
A Quick History of the Green Screen
Ever since the first video in the late 1800s, we have come up with more and more ways to enhance our movie and video experience. One of these technologies is green screen. The first green screens were developed in the 1930s.
They are featured in such windshield wiper films as Flying Down to Rio (1933). However, the first of these “green” screens to be used in a color film, The Thief of Bagdad (1940) by Lawrence Butler, was actually blue.

Even though the color changes, the technology remains the same, and, since then, green screens have been used in countless videos, from blockbuster movies to home YouTube videos.
What is Green Screen?

Green screen, AKA chroma key, is a special effects technique used to replace a flat, solid background with a still or moving scene. Chroma keying layers two images atop one another by detecting the color hue of the screen and compositing it with a given image or video.
You may be wondering: why green? As mentioned earlier, the first chroma keying was used with a blue screen, and blue screens continue to flourish today. However, filmmakers are forced to exclude blue clothes, objects, or actors with blue eyes from these shots.
Most people don’t have any features, clothes, or objects that are putrid green, so it’s always a safe color to select for the chroma key. (Of course, if you do have a shot that features something green, then “blue screens” are the way to go!)
Setting Up Your DIY Green Screen

To set up your own DIY green screen, the first step is to choose a screen that works for you. You can purchase a solid color backdrop sheet (some are available on Amazon for under $20!) or a collapsible panel/stand, which works especially great for travel.
If you want to take it a step further, you can even build your own stand out of PVC pipes. Or perhaps you have the option of simply painting a whole wall green in your studio. (You can choose any color you want, depending on your shots.) After you’ve chosen the green screen that works best for you, all that’s left to do is set it up and move on to the lighting.
Setting Up the Lighting

Instead of purchasing the green screen and lighting separately, you can consider a green screen kit that includes the whole package. Be sure to check the pricing, though. Sometimes it’s cheaper to buy a kit and sometimes it’s cheaper to buy them separately.
One thing to keep in mind with green screen lighting is the shadows. Because shadows change the color hue of the background, they often cause confusion for the editing software. So remember to minimize shadows to clean up your finished film.
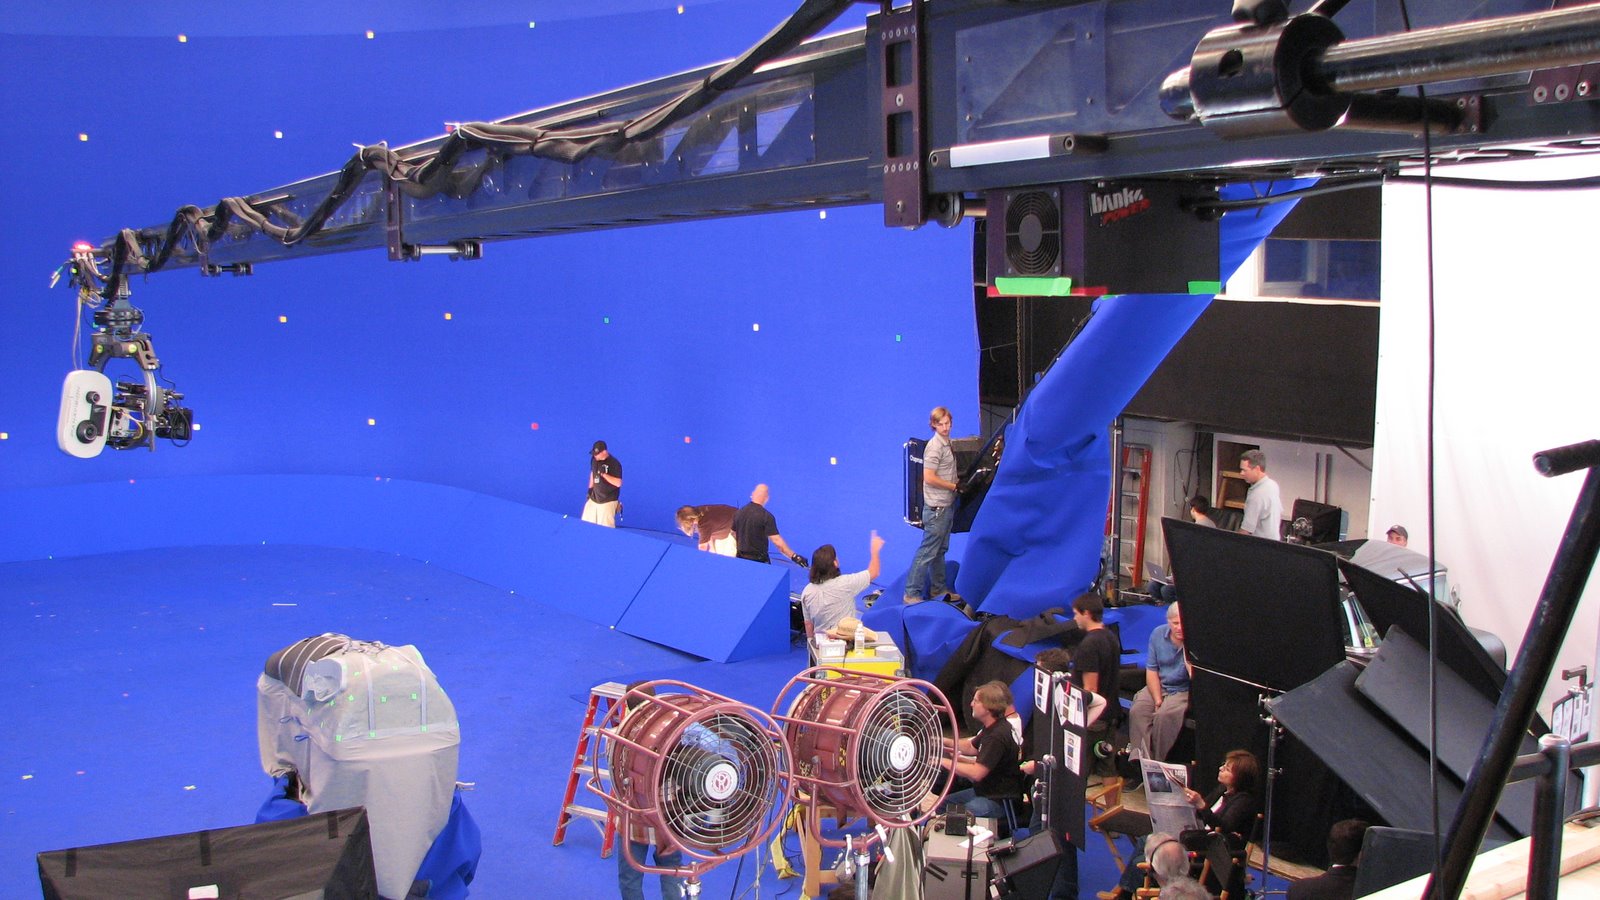
This can be done by focusing light on the sides and top of the shot instead of in the front (like in the image above). The lighting doesn’t have to be perfect, but it can help to reduce editing hassles later.
Tips to Ensure Good Lighting
Light the screen evenly.
This helps balance out the color hues, which is, again, essential. Make sure if you have three clamp lights on the right side of the screen, that you have three on the left, and so on. Evening out the lights also helps eliminate shadows if the person in front of the screen remains centered.
Choose the right equipment.
Big, bright lights are always the best way to feign a natural look. However, this isn’t always easy with a small budget. Instead, it’s important to discern between inexpensive and cheaply made equipment and choose the former (clamp lights are a good option).
The final editing can also help avoid any missteps caused by insufficient lighting. You could also film on a smaller surface (like the collapsible panel) and use regular sized lights so they cover the whole shot.
Maintain control of the environment.
You should get to choose the lighting for your video, not the sun, not the streetlights. Be sure to film in an enclosed room with no windows where you have complete control over the lighting. If this isn’t an option, you can always work around mild untamed light with the right technique.
Wrap Up
Now, you’ve set up your DIY green screen and lighting and filmed your footage. All that is left is the editing. You can download green screen editors for yourself such as Camtasia. Or, you can check out this list of other green screen software.
If you don’t want to go through all the hassle of learning how the software works, there’s another option. Valoso is an excellent place to hire skilled video editors who can edit out the green and put in the scene.
Whichever method you choose for the final editing, remember that even with a tight budget you can explore the potential of DIY green screen for your videos.


